Your cooking area deserves more than just functionality—it should reflect your style. With the right weekend project, you can turn dated cabinets into statement pieces or transform blank walls into personalized galleries. Best part? You don’t need a contractor or a big budget.
We’ve curated 15 upgrades that blend creativity with practicality. Think thrifted lighting turned chic fixtures or clever storage hacks that declutter countertops. These ideas focus on visual impact without sacrificing usability, perfect for homeowners craving change but short on time.
Even first-time crafters can tackle these tasks. Materials range from affordable hardware store finds to repurposed items gathering dust in your garage. Every suggestion prioritizes quick results, with most requiring basic tools and minimal prep work.
Key Takeaways
- Complete most transformations in 2 days or less
- Mix budget-friendly and upscale-looking upgrades
- Suitable for all skill levels, from beginners to experts
- Focus on areas with high visual payoff like walls and cabinets
- Combine style improvements with smarter storage solutions
Introduction to High-Impact DIY Kitchen Projects
Revitalize your home’s heart with weekend upgrades that deliver style without the chaos of remodeling. These transformations focus on areas that guests notice first—think statement lighting above islands or custom storage that clears counter clutter. Even better? Many solutions cost less than a dinner out.
Thrifted fixtures and repurposed materials shine here. A $15 barn light refresh or peel-and-stick backsplash can make cabinets look custom. The secret lies in strategic updates—changes that trick the eye into seeing a full makeover. You’ll need basic tools like screwdrivers and paintbrushes, not professional equipment.
Focus on four zones for maximum effect:
- Lighting that defines your space’s mood
- Wall treatments adding depth and personality
- Storage solutions that double as display areas
- Hardware swaps updating decades-old cabinets
“The best upgrades solve problems while sparking joy. A well-placed shelf isn’t just practical—it’s a stage for your favorite dishes.”
Our curated picks eliminate guesswork. Each project was tested for visual payoff versus effort required. You’ll find options matching various skill levels, ensuring success whether you’re handy with power tools or prefer no-drill fixes.
Essential Tools and Materials for Your DIY Kitchen Makeover
Smart preparation turns weekend upgrades from stressful to satisfying. Whether refreshing cabinets or adding storage, having the right arsenal ensures polished results. Let’s break down what you’ll need—and where to find it without overspending.
Must-Have Supplies for Every Project
Start with versatile basics. Multi-surface spray paint breathes new life into hardware and light fixtures. A durable wood stain adds warmth to shelves or cutting boards. Keep these essentials handy:
- Precision cutting tools (utility knives, saws)
- Strong adhesives for no-drill installations
- Mounting hardware rated for heavy items
Quality matters most with items bearing weight. Check weight limits on brackets before hanging floating shelves. For painted surfaces, lightly sand and prime first—this prevents chipping.
Budget-Friendly Sourcing Tips
Great materials don’t need premium prices. Local thrift shops hide gems like solid wood frames and vintage containers. One crafter’s trash becomes your statement fruit bowl!
“Visit thrift stores mid-week—new inventory often arrives after weekend donations.”
| Source | Best Finds | Avg. Cost |
|---|---|---|
| Thrift Stores | Frames, hardware, glassware | $2-$15 |
| Home Improvement Stores | Paint samples, wood scraps | Free-$10 |
| Local Mills | Reclaimed wood planks | $8-$20 |
Compare prices across stores before buying. Many home improvement outlets sell discounted “oops” paint mixes at 70% off. Salvage yards offer unique tiles for backsplash experiments.
Framed Art and Digital Print Inspirations for Kitchen Walls
Blank walls offer prime real estate for showcasing your taste. With thrifted frames and digital prints, you can craft a gallery that feels curated, not cookie-cutter. This approach costs less than dinner for two but delivers lasting visual impact.
How to Thrift and Transform Frames
Secondhand stores overflow with hidden treasures. Look for solid wood frames with interesting details—a chipped finish adds rustic charm, while ornate gold accents suit traditional spaces. Remove old artwork and measure the opening before buying.
Refresh frames with spray paint or wood stain. Matte black modernizes outdated styles, while whitewash highlights natural grain. Mix sizes and shapes for gallery walls that command attention. Place larger pieces above eye level to draw views upward.
Creating Impact with Digital Downloads
Online marketplaces offer endless art options. Search for high-resolution files matching your kitchen’s vibe—botanical sketches for farmhouse flair or abstract patterns for contemporary edge. Many artists provide print-ready files under $10.
Use home printers for small pieces or order professional prints for bold statements. Add mat boards to elevate inexpensive frames. Cluster three pieces horizontally above windows or line vertical prints along narrow walls. For step-by-step guidance, YouTube tutorials simplify the process.
“Group art in odd numbers for balanced displays. Three pieces create harmony; five make a striking statement.”
Modern Wall Art: Peg Rails and DIY Canvas Projects
Blend practicality and creativity by upgrading your walls with features that organize and inspire. Peg rails and handcrafted canvases turn empty spaces into functional galleries, merging storage with artistic expression. This approach works especially well in homes craving a fresh look without permanent changes.
Farmhouse Peg Rail Styling
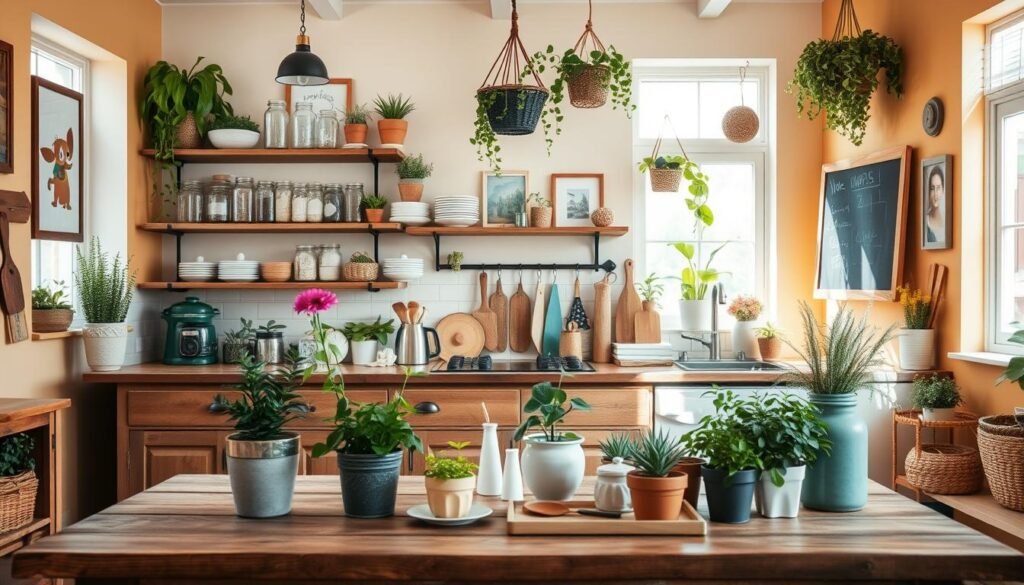
Peg rails deliver rustic charm while clearing counter clutter. Their versatile design lets you hang copper pots, woven baskets, or herb-drying bundles. For seasonal updates, swap autumn leaf garlands for spring floral wreaths in seconds.
Modern versions feature sleek black metal or minimalist wood finishes. These retain classic appeal but align with contemporary aesthetics. Always anchor rails to wall studs or use heavy-duty anchors for safety.
- Display vintage utensils as functional decor
- Use S-hooks to hang stackable colanders
- Add small shelves above rails for spice jars
“Layer textures for depth—pair rough jute towels with smooth ceramic mugs on hooks.”
Canvas projects let you personalize artwork affordably. Try abstract brushstrokes using leftover paint or attach dried botanicals with mod podge. For farmhouse flair, stretch burlap over frames and stencil farm-to-table quotes.
Creative DIY Light Fixtures and Pendant Installations
Lighting transforms spaces faster than any other element—especially when you craft it yourself. A single statement fixture can elevate your space from functional to magazine-worthy. Best part? You don’t need designer prices to achieve this effect.
Barn Light Revival Made Simple
Thrifted barn lights offer raw potential. Three $15 fixtures become a striking cluster above islands when unified with plumbing pipe conduits. The industrial farmhouse look shines through exposed metal and rustic wood accents.
Build a pine box to hide electrical connections while adding warmth. This clever hack balances sleek lines with organic texture. Total cost stays under $120—a fraction of retail prices for similar setups.
Basic wiring skills are essential here. Always turn off power at the breaker before handling connections. Need help? “Even seasoned crafters consult electricians for final inspections,” advises a Portland-based home renovator.
Alternative ideas repurpose ladders as hanging structures or weave baskets into diffusers. These approaches keep costs low while ensuring unique results. Focus on fixtures that complement your existing metal finishes for cohesion.
“Mix materials thoughtfully—aged brass pairs beautifully with reclaimed wood accents.”
This project proves lighting upgrades don’t require major renovations. With strategic upcycling and safety practices, you’ll create a focal point that works as hard as it impresses.
Smart Storage Solutions: Cutting Boards, Plate Racks, and Shelving
Transform everyday items into stylish organizers that declutter and beautify your space. Simple tweaks to storage systems can turn chaotic countertops into curated displays while keeping essentials within reach. Let’s explore how to reimagine common tools as problem-solving features.

Transforming Cutting Boards into Functional Riser Displays
Thrift stores overflow with wooden slabs begging for new purposes. A $3 cutting board becomes a multi-level riser when paired with decorative brackets or hairpin legs. Stack two boards vertically to showcase cookbooks or elevate fruit bowls, instantly adding depth to flat surfaces.
Choose pieces with minimal grooves for stability. Sand rough edges and apply food-safe wax for a polished finish. “The goal is functionality that looks intentional,” notes a Texas-based home organizer. Pro tip: Use smaller boards as spice rack bases or tablet stands near prep areas.
Maximizing Wall Space with Floating Shelves
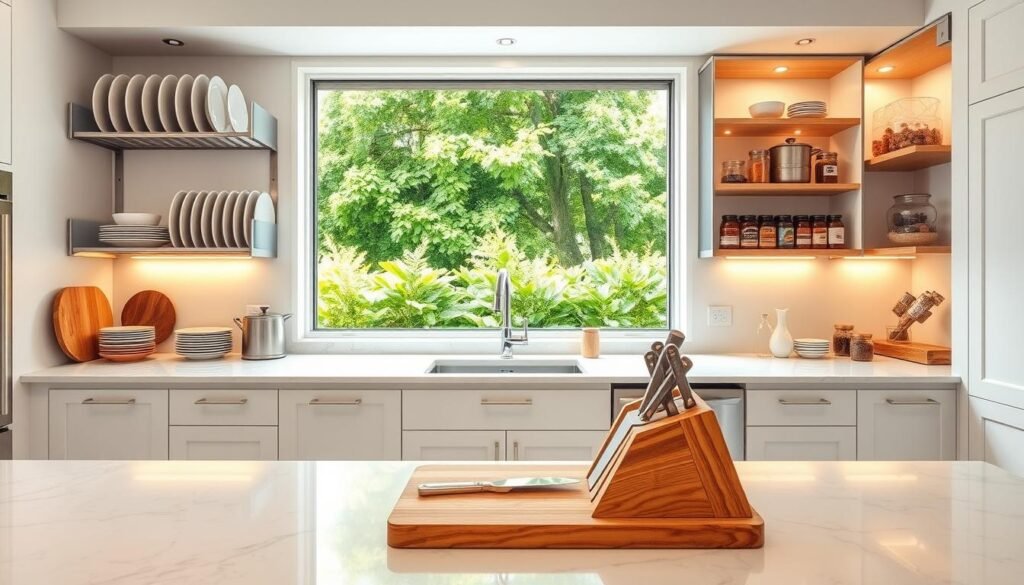
Open shelving creates airy storage without crowding rooms. Install floating shelves above sinks to hold daily-use plates or display vintage cutting boards as art. Pair with plate racks that keep dishes accessible while freeing cabinet space for bulkier items.
For narrow walls, use 8″-deep shelves to avoid protrusions. Stagger heights between shelves and racks to create visual rhythm. Anchoring systems matter—opt for steel brackets rated for at least 25lbs to ensure safety.
“Shelves should solve problems first, then spark joy. If you’re not reaching for items daily, rethink the placement.”
DIY Kitchen Decor: Cabinets, Hardware, and More
Updating key elements can dramatically alter your room’s aesthetic. Focus on cabinet fronts and drawer pulls—these small changes deliver outsized visual impact. A fresh coat of paint or modern hardware makes dated woodwork look custom-built.
Spray painting existing hardware offers instant gratification. Choose metal-specific formulas with built-in primer for durability. Lightly sand knobs and hinges first to help the finish stick. Pro tip: Test colors on spare pieces before committing.
| Paint Type | Dry Time | Best For |
|---|---|---|
| Oil-Based | 8 hours | High-traffic areas |
| Acrylic | 1 hour | Decorative accents |
| Enamel | 4 hours | Moisture-prone zones |
Modify cabinet doors for personality. Add glass inserts to display colorful dishes or install trim for a shaker-style upgrade. These changes require basic woodworking skills but yield professional results.
“Match your new hardware finish to existing fixtures. Brushed nickel faucets? Use similar tones for cohesive design.”
Experiment with paint techniques to hide wear. Try color washing for depth or stencils for pattern play. Always clean surfaces with trisodium phosphate first—it removes grease better than standard cleaners.
Multipurpose Decor: Wooden Signs, Chalkboards, and Menu Boards
Combine artistic flair with daily functionality using surfaces that adapt to your needs. Wooden signs and chalkboards serve dual purposes—they organize your space while showcasing personality. Thrifted frames paired with versatile materials create pieces that evolve with your routines.

Crafting Dynamic Display Surfaces
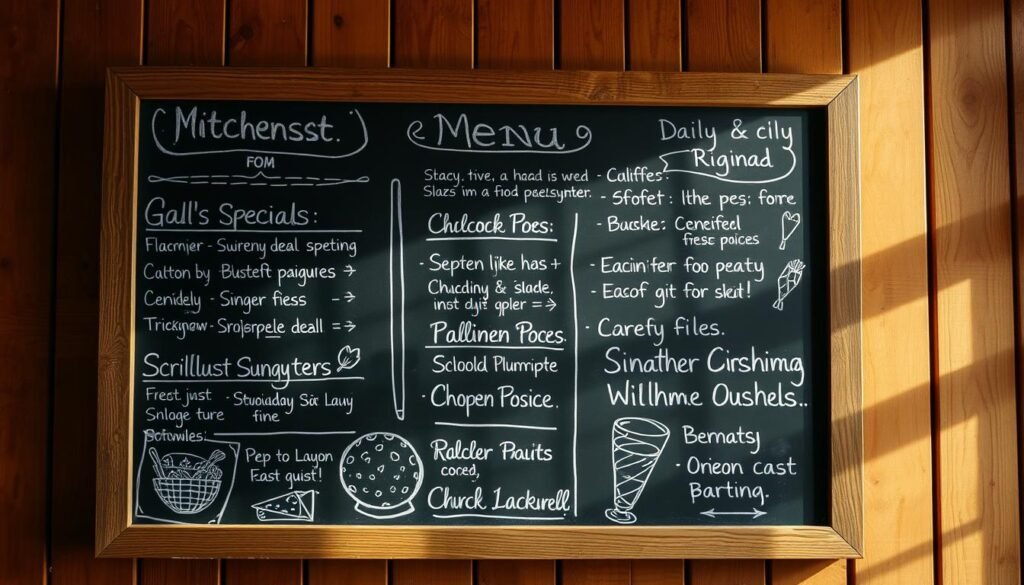
Chalkboard panels offer endless possibilities. Cut large sheets from home improvement stores to fit vintage frames for a custom look. Season new surfaces by rubbing chalk sideways—this prevents ghosting and ensures clean erasing.
Wooden signs add warmth through hand-lettered quotes or stenciled designs. Use wood-burning kits for permanent messages on untreated planks. For seasonal flexibility, layer removable vinyl decals over stained boards.
| Chalkboard Size | Best Use | Frame Style |
|---|---|---|
| 24″x36″ | Weekly meal plans | Ornate gold |
| 12″x18″ | Grocery lists | Minimalist black |
| 8″x10″ | Spice labels | Distressed wood |
“Prime chalkboards with multiple chalk layers before first use. It creates a smoother canvas and extends lifespan.”
Mix sizes for practical artistry. Cluster small boards near prep areas for ingredient reminders. Hang a statement piece above coffee stations to display brew menus or caffeine quotes. These adaptable features keep spaces fresh without requiring permanent changes.
Upcycled and Repurposed Projects: Canister Sets and Tin Can Caddies
Turn everyday discards into functional art with simple transformations. Empty soup cans and vintage tins find new purpose as storage solutions that blend practicality with personality. These projects reduce waste while adding one-of-a-kind charm to your space.
Creative Ideas with Reclaimed Materials
Start by scouring recycling bins for metal containers. A quick scrub removes labels from tin cans, creating blank slates for paint or fabric wraps. For larger pieces, check local thrift stores—old toolboxes often cost less than $10 and make rustic caddies.
Try these combinations for standout results:
| Project | Materials | Cost Range |
|---|---|---|
| Spice Canisters | Vintage tins + chalk paint | $3-$15 |
| Utensil Caddy | Soup cans + patterned paper | Free-$8 |
| Toolbox Organizer | Thrift store find + acrylics | $7-$20 |
“Sand metal edges smooth before decorating—safety and style go hand in hand.”
Mix materials for visual interest. Line tin containers with fabric scraps or add wooden knobs to toolbox drawers. These touches elevate basic items into cohesive decor elements. For food-safe options, use beeswax sealant on painted surfaces.
Finished pieces become conversation starters. A repurposed flour tin holds coffee pods stylishly, while a painted toolbox corrals cooking tools. Each piece tells a story of creativity meeting sustainability.
Accent Pieces: DIY Charcuterie Boards and Tiered Trays
Elevate your space with pieces that marry craftsmanship and utility. Handcrafted serving boards and multi-level displays add warmth while solving storage puzzles. These functional showstoppers transition effortlessly from weekday meal prep to weekend entertaining.
Building a Custom Two-Tier Serving Piece
Start with unfinished wood rounds from hardware stores—Home Depot’s 14-inch options work perfectly. Sand edges smooth, then stack layers using threaded rods for adjustable height. Stain the base rich walnut while leaving the top natural for contrast.
Personalize with routed handles or engraved initials. Pro tip: Seal surfaces with food-safe beeswax for durability. This tutorial-friendly project teaches basic joinery skills, resulting in heirloom-quality boards guests will admire.
Thrifted trays get new life as tiered organizers. Spray paint mismatched platters uniform matte black, then secure them with decorative brackets. Display citrus fruits on the lower level and fresh herbs above for a vibrant, layered look.
These accent pieces prove practicality and beauty coexist. Whether crafting a statement board or repurposing vintage finds, you’ll create solutions that spark joy daily. Best part? Each project wraps up faster than a Netflix movie—leaving your weekend free for enjoying the results.

